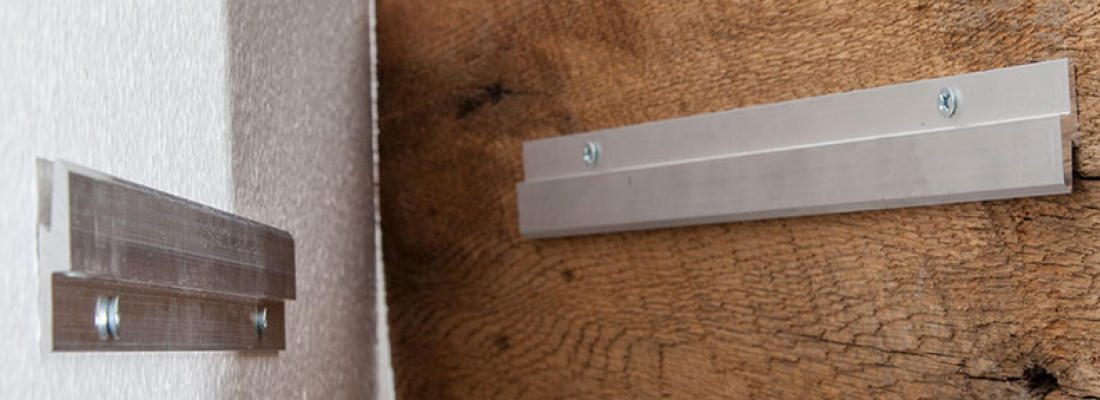
A wall cleat, also known as a French cleat, is a way of securing a large sign to a wall.
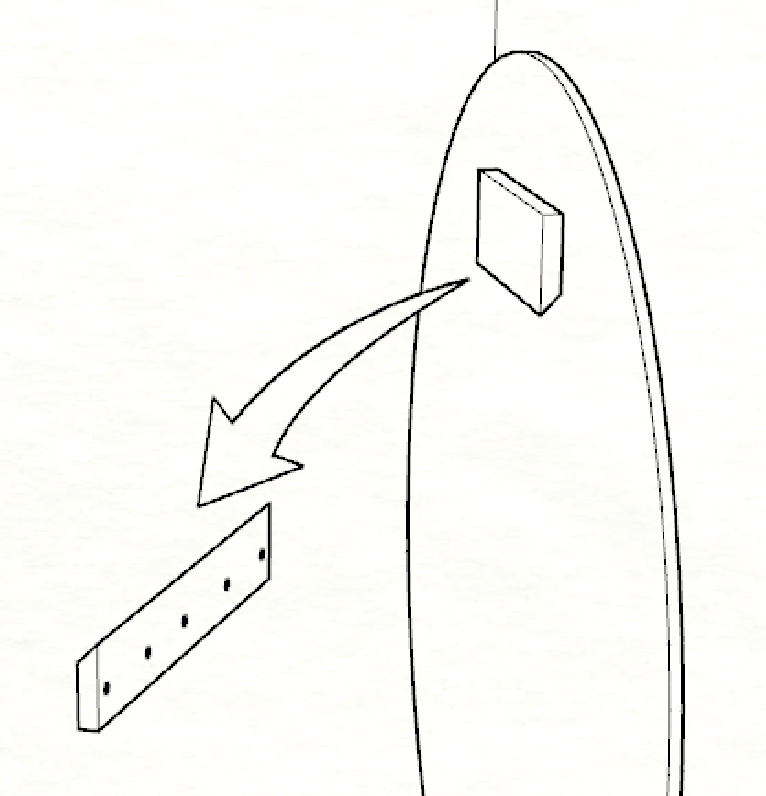
There’s two parts to the cleat: one half that’s mounted to the wall, and the other half with a matching edge that’s already included on the back of your sign.
Benefits:
- Easy install: The wall side can be mounted securely without having to hold the full weight of the sign. Once it’s secured, the sign can simply be lifted onto it.
- Perfect positioning: The sign can be shifted left and right slightly after it is hung.
Included in your kit:
- Custom made sign
- Cleat bar
- Wall anchors
- Screws
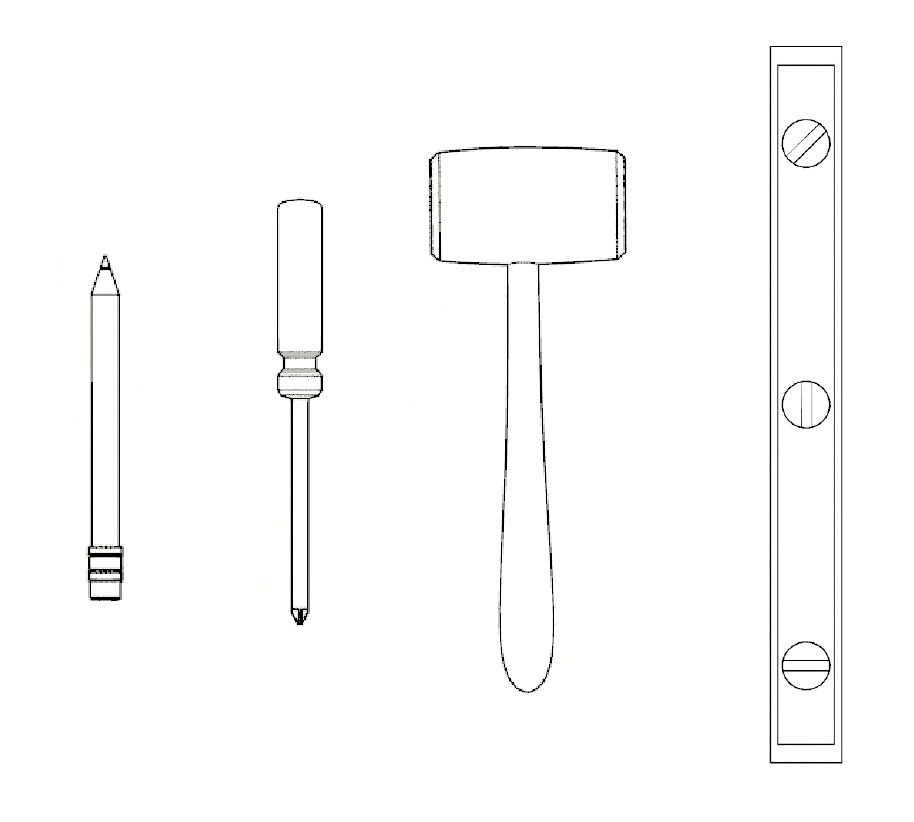
Tools you’ll need:
- Level
- Pencil
- Mallet/Hammer
- Screwdriver
Step 1: Mark a level line
Turn the sign over. You’ll notice the wall portion of the cleat is temporary taped into place. Measure the distance from the top edge of the sign to the top of the bottom edge of the entire cleat assembly.
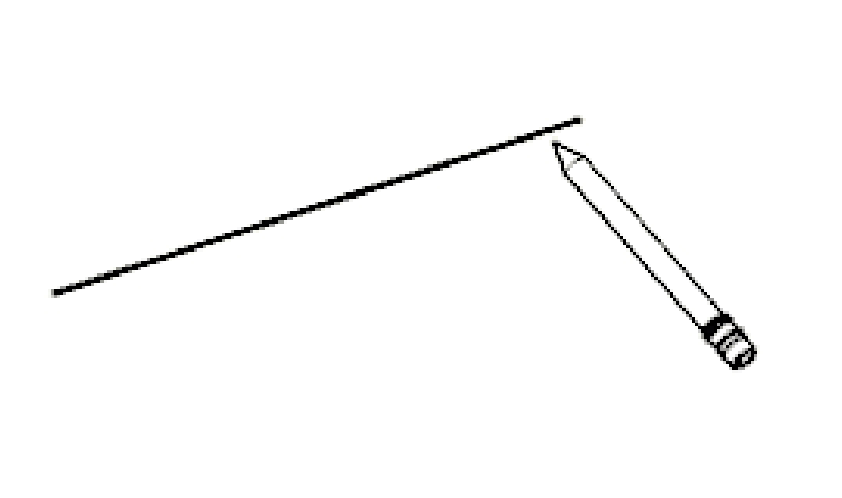
Mark a level, horizontal line on the wall that same distance down from where the top of the sign should be.
Step 2: Align hanging cleat
Remove the wall portion of the cleat from the back of your sign. Align the bottom edge of the wall section of the hanging cleat to the line. Follow the guides on the cleat bar indicating which direction is up and facing out.
Step 3: Mark location of wall anchors
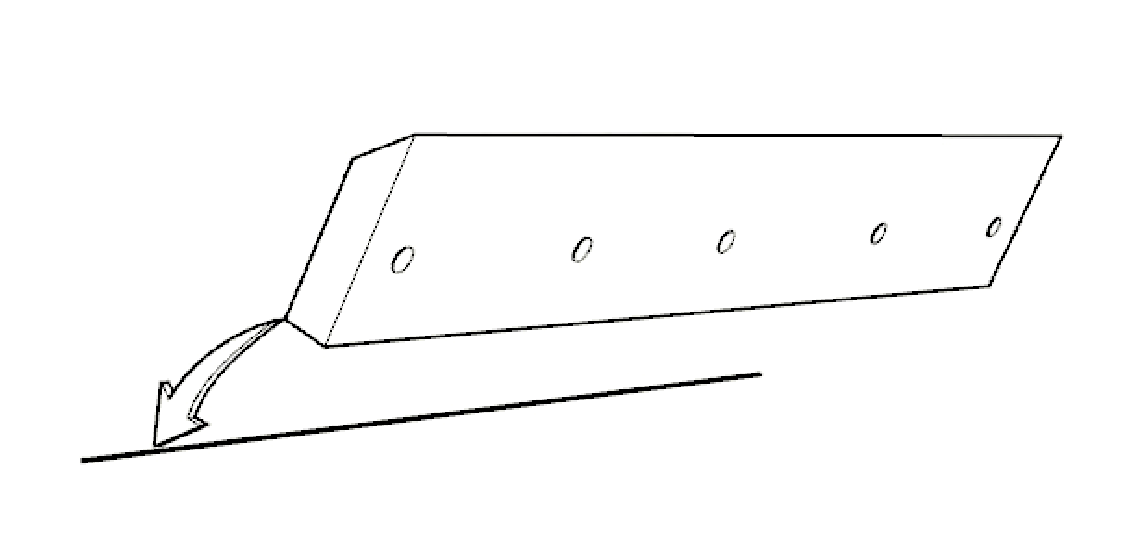
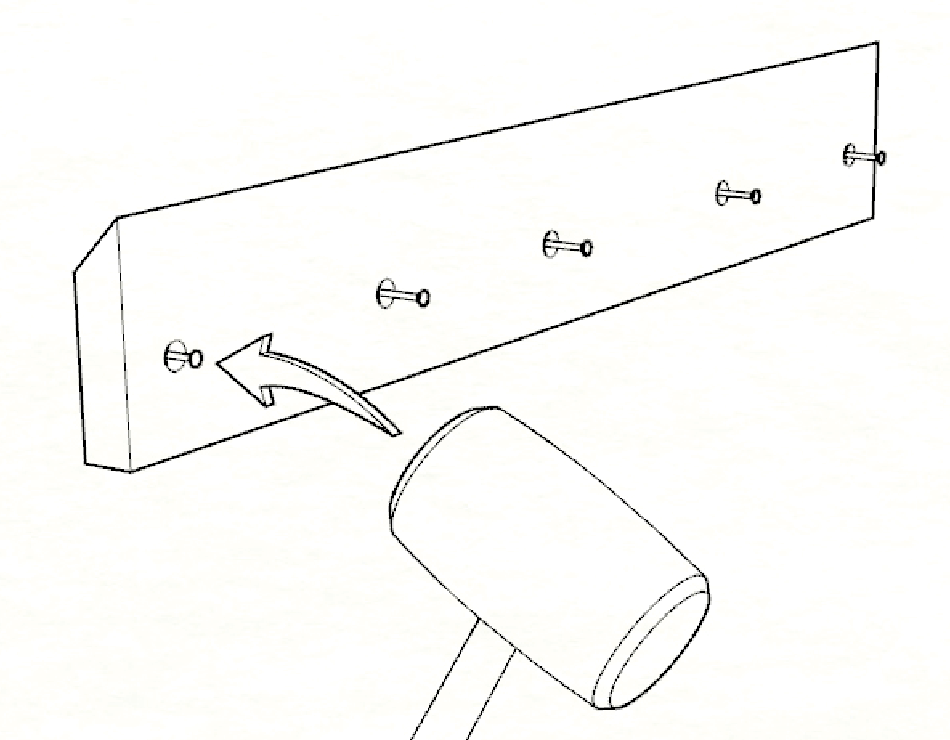
Lightly tap each screw into the holes while firmly holding the cleat bar in place. This marks the location for the wall anchors.
Step 4: Screw in wall anchors
Screw in the wall anchors where indicated by the screw marks. It’s ideal to screw into a wall stud, especially if it’s a heavy sign. The wall anchors provided are rated for the weight of your sign.
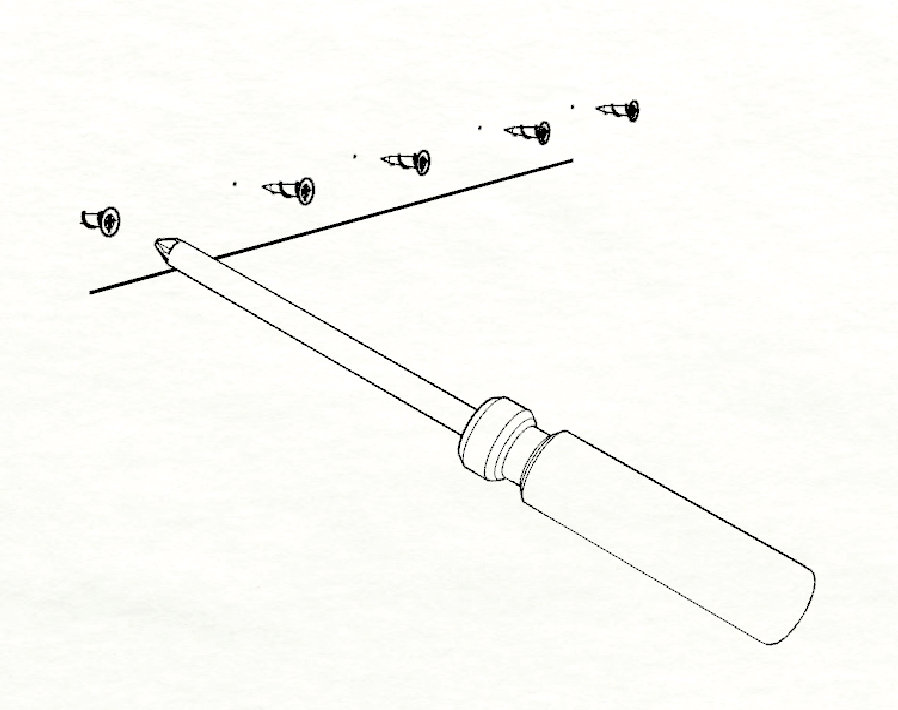
Step 5: Install screws
Align the cleat bar to the wall anchors and install the screws. Hand tight is fine, do not over tighten.
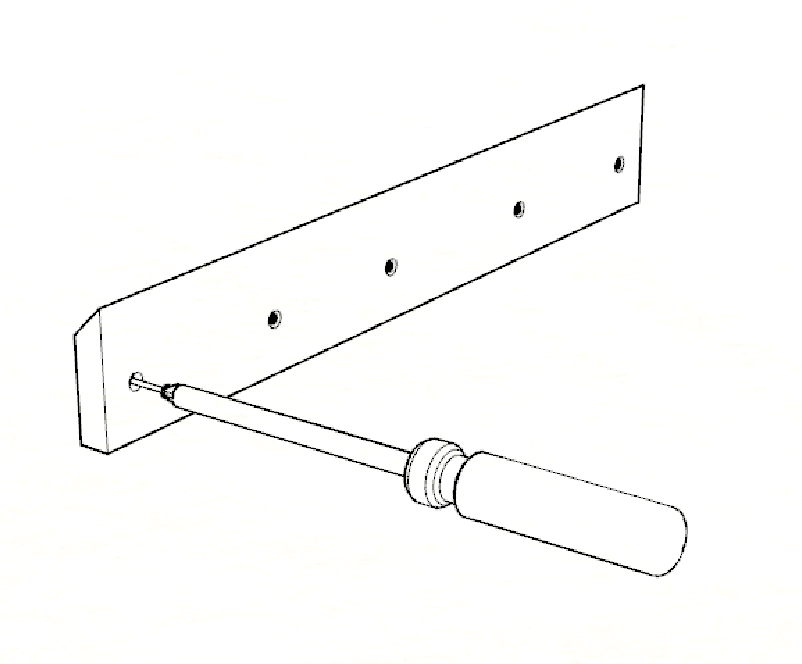
Step 6: Hang sign
Carefully hang the sign on the cleat bar. There should be enough room to adjust left or right. Picking the sign back up and placing it down in a new spot is recommended over trying to slide it along the bar. (Don’t move it too far or it may fall!)
