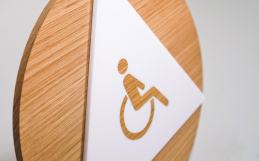
This type of sign removal includes pulling the posts (studs) on the back of your sign straight out of the wall.
The pieces to your sign are attached to studs, which were likely pressed into pre-drilled wall holes and secured with adhesive. Here’s how to remove the sign.

What you’ll need
- Painter’s tape or soft cloth
- Plastic pry tool or dental floss
- Cleaner compatible with the wall material
Step 1: Inspect the sign and wall surface.
Confirm that the sign is mounted using studs and adhesive.
Step 2: Protect the surrounding area.
Use painter’s tape or a soft cloth to protect the wall surface from potential damage during removal.
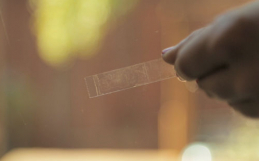
Step 3: Loosen the adhesive bond.
Apply gentle, even pressure to the sign by carefully wiggling or pulling straight outward. If resistance is significant, use a plastic pry tool or a length of dental floss/fishing line behind the sign to gradually separate it from the wall.
Step 4: Remove the sign.
Once loosened, lift the sign straight off the wall to avoid bending the studs or damaging the wall finish. Note that depending on the adhesive used and the wall condition, some paint or wall finish may be removed as the adhesive releases.
Step 5: Clean the wall surface.
Carefully remove any residual adhesive using an appropriate cleaner compatible with the wall material. Touch-up painting may be required if any finish is removed during the process.
Step 6: Schedule painter
It’s likely there will be damage to the wall from the removal. We recommend scheduling an appointment with your painter for any necessary patching or painting.