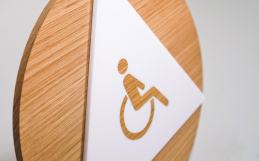
Adhesive is the fastest and simplest way to install a sign. This is ideal for smaller or thinner signs, and works great on glass and tile.
Included on the back of your sign are pieces of high-strength, double-sided tape that let you quickly and easily create a long-lasting bond that actually builds strength over time.
Step 1: Align the template
Decide where you’d like to place your sign. The adhesive is not repositionable, so you want to be sure of placement before adhering. Use a level to align the paper template in the desired location. Be sure to check left and right side spacing. Fix in place with masking or painter’s tape. Use enough tape to make sure the template is very flat.

Step 2: Remove adhesive backing
Carefully place your sign face down on a soft surface, to avoid scratching the face. Peel the backing off all the adhesive on your sign.

Step 3: Display your sign
Press your sign firmly into place on your wall. When you’re done, remove the paper template.